How to Create AI-Like Multi-Color Text Editing in CapCut (Step-by-Step Guide)
Hello everyone! In today’s tutorial, I’m going to show you how you can create AI-style multi-color text effects using the CapCut app. This type of colorful and glowing text editing can completely transform your Instagram Reels or YouTube Shorts—giving them a next-level, professional look.
Most people don’t even know that CapCut allows you to do multi-color text editing with glow effects directly from your phone. So, let’s dive right in and learn this cool trick step by step.
Step 1: Get the Working Version of CapCut
First, make sure you have the working CapCut app installed on your phone. If your app isn’t working properly or you can’t access the text features, check out our WhatsApp Channel. We regularly share working app versions and updates there.
If you’re facing any restrictions, install a reliable VPN app from the Google Play Store. You can use any VPN—such as Proxy VPN—and connect it to a server. The server you choose doesn’t really matter, but for best performance, I recommend connecting to the United States server.
Step 2: Import Your Video in CapCut
Once your VPN is active, open CapCut. You’ll see the option for New Project. Tap it and select the video you want to edit. Then click on Add—your video will now load in the editor.
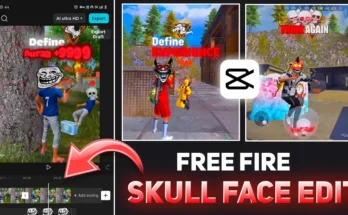
For this tutorial, let’s assume you have a simple video clip—maybe something like a “fire vs. water” fight clip. The effect we’ll create will make your text pop beautifully over such dynamic scenes.
Step 3: Add Text in CapCut
Now, tap on the Text option → Add Text. Type whatever you want—like “Fire vs Water” or your custom caption.
After typing your text, go to the Fonts section. Here, you can choose any font that suits your video style. Some aesthetic fonts look better with glowing effects, while others give a clean, cinematic vibe.
For instance, fonts like “Resolve” or modern sans-serif styles look great for this type of design. Choose one and adjust its size and placement on the screen.
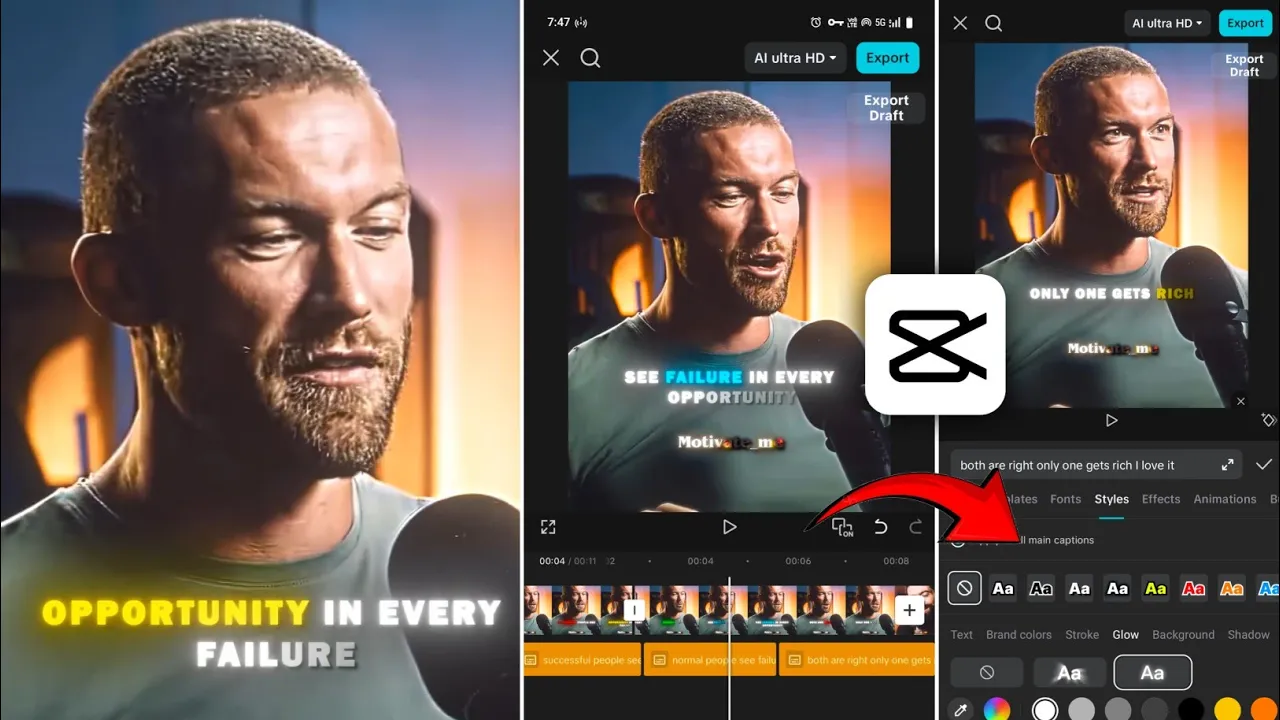
Step 4: Apply Multiple Colors to Text
By default, if you change the color from the Style menu, it applies to the entire text. But here’s the secret trick to applying multiple colors:
- Click on the text you just typed.
- Long-press on the specific word or letter you want to color differently.
- Go to the Style tab.
- Choose your desired color—say yellow, red, or blue.
For example:
- Keep “Fire” in red.
- Keep “Water” in blue.
- Keep “Fight” in yellow.
This way, your text will have a stunning multi-color look—perfect for aesthetic or animated video edits.
Step 5: Add Glow Effects to Text
Once your colors are set, it’s time to make them glow!
Go to Style → Glow. You’ll see two types of glow styles:
- Ray Glow: Adds a radiant beam-like glow.
- Soft Glow: Creates a smooth and balanced highlight effect.
Adjust the intensity and range sliders to control the brightness and spread of the glow. The best part? The glow color automatically matches the text color you applied earlier! So if your text is red, the glow will appear red; if it’s blue, it will glow blue. This makes your visuals look natural and cinematic.
To enhance the glow even further, go to the Shadow option. Set it to black, increase opacity to 100%, and adjust the blur and distance slightly. This gives your text a beautiful 3D depth effect.
Step 6: Animate Your Text
Animations can make your text more dynamic. Go to the Animation menu → In Animation and try subtle ones like Fade In or Typewriter. Avoid overly flashy effects as they can distort the glow effect.
For the Out Animation, use Fade Out to maintain smooth transitions. You can also adjust the speed of animations for a cinematic touch.
Try to keep your text animation minimal—it looks more professional and keeps the focus on your main visuals.
Step 7: Add Simple Motion or Zoom Effects
To make your edit even more appealing, apply subtle motion effects:
- At the start of the clip, keep your video slightly zoomed out.
- In the middle, keep it steady.
- At the end, zoom in slightly for a smooth finish.
This technique adds depth and movement to your edit, making it feel more dynamic and professional.
Step 8: Export in High Quality
Once your editing is complete, click on the Export button. Set all parameters to maximum quality before saving. Your video will be exported in high resolution and ready to share on Instagram or YouTube Shorts.
And that’s it! You’ve successfully created an AI-like multi-color text edit in CapCut—right from your phone.
Final Tips
- Use bright, contrasting colors for better visibility.
- Stick to short and catchy text phrases.
- Experiment with glow intensity for each word.
- Preview your edit before final export to ensure smooth transitions.
These little tweaks can make your content look like it was edited using a high-end AI video editor!
Conclusion
So that’s how you can do multi-color glowing text editing in CapCut without using any AI software or PC. This method is completely mobile-friendly and super easy to follow. It’s perfect for short-form content creators who want to give their videos a unique touch.
If you found this guide helpful, don’t forget to share it and explore more editing tips on CapCut’s official website or through our Telegram Channel.
Stay creative, keep experimenting, and see you in the next tutorial!
Join Our Prompt Community!
Get daily AI prompts, tips, and tricks directly in your WhatsApp.