How to Convert Low-Quality FreeFire Clips into High-Quality 4K Using CapCut (Step-by-Step)
Hello everyone — how are you all doing? In today’s post I’ll show you how to convert your low-quality FreeFire recordings into high-quality 4K clips. This is super important: if you keep uploading low-quality videos, they’re far less likely to go viral. So I’ll walk you through everything step-by-step — graphics settings, recording tips, and editing tricks. Let’s get started!
What you’ll need
- A working CapCut app (we’ll use CapCut for editing). Official site: capcut.com.
- A VPN app (optional, if you use one). You can search VPNs on Google Play: Google Play – VPN apps, or try ProtonVPN: proton.me/vpn.
- Your device’s built-in screen recorder (recommended — you don’t need a third-party recorder).
- If you want to read about Android screen recording tools and commands, see the official Android docs: Android — screenrecord.
Quick overview (what we’ll do)
- Adjust FreeFire in-game graphics settings for best capture quality.
- Record using your phone’s native screen recorder (no 3rd-party necessary).
- Edit and enhance the recording in CapCut — noise reduction, filters, sharpness, HDR effects — then export in 4K.
Step 1 — Game settings (make your recording capture look great)
Open FreeFire and go to Settings → Display. These small changes make a huge difference when recording:
- Change Standard → Ultra (use Ultra while recording — if your device is low-end you can keep Standard for normal gameplay but switch to Ultra only when recording).
- After choosing Ultra you’ll get extra options like Filters. Try Vivid or Ocean instead of Classic for stronger colors — pick whichever looks good to you.
- Leave Performance Mode off unless you have heavy lag.
- Enable High FPS (select High) to improve recorded smoothness.
- If available, enable HD Textures to improve in-game texture quality.
Once these are set, start your game and record. I strongly recommend using your device’s built-in screen recorder — it usually records better than most third-party screen recorders.
Step 2 — Record your gameplay
Open the game, play the part you want to capture and start recording. Keep in mind:
- Record the best moments you want to show — skip long boring parts.
- If your device slows down during normal play, keep Standard while playing and only switch to Ultra when you’re about to record.
Step 3 — Edit in CapCut (detailed)
Open CapCut and create a new project. Import the recorded clip you just made.
Trim & clean
- Delete unnecessary beginning/end sections using Split → Delete.
- Keep only the highlight parts you want to show.
Set aspect ratio
Go to Aspect Ratio and choose:
- 16:9 — for YouTube uploads (long videos)
- 9:16 — for YouTube Shorts / Reels / TikTok
Then fill the screen so the clip fits correctly.
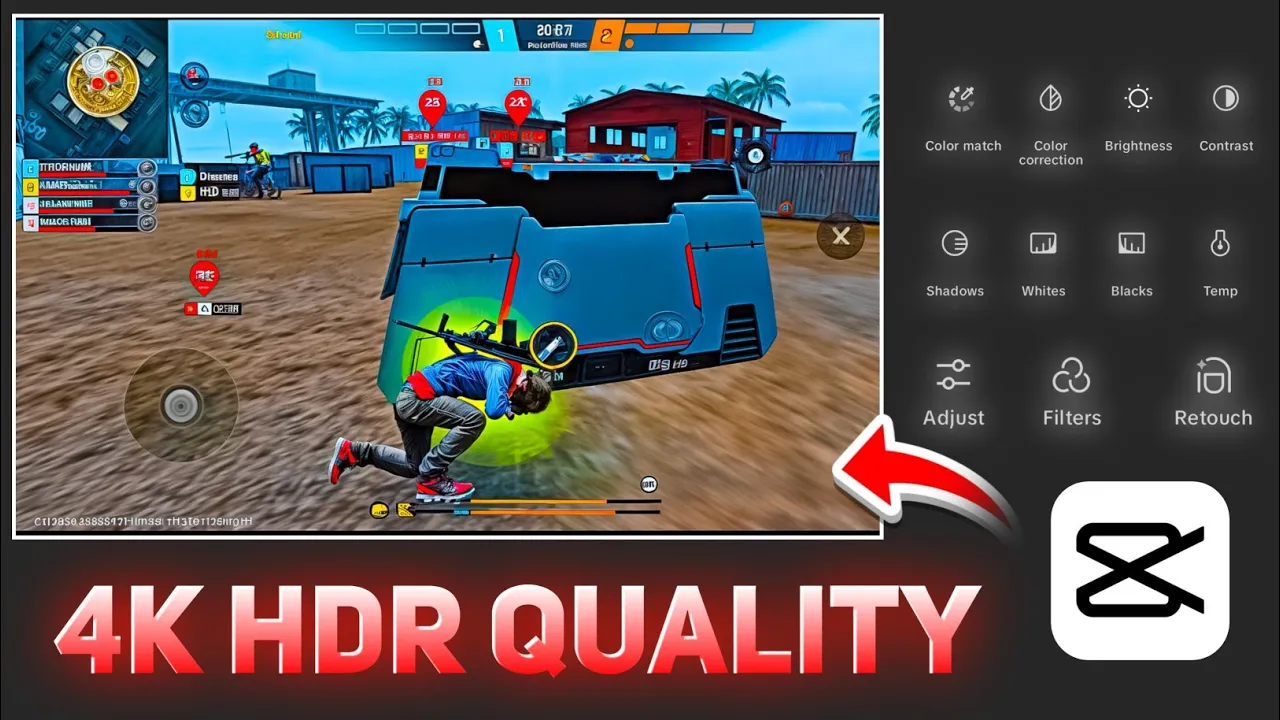
Enhance quality with CapCut tools
Click the clip → scroll → choose Adjust. You’ll see three main areas: Filter, Adjust, and Video Quality. The Video Quality tool is powerful:
- Enable Reduce Image Noise — apply it strongly. CapCut processes this in the background.
- Try different built-in filters — some filters boost perceived quality and color. Pick one that looks right.
Adjust color & tone
Under Adjust tweak these settings slightly (don’t overdo it):
- Brightness — reduce a bit.
- Brilliance — increase to maintain light.
- Saturation — tweak to your taste (a little extra often looks better).
- Clarity & Sharpen — increase slightly to improve detail (small increments).
- Shadows — lower slightly if you want a darker, punchier look.
Use Effects for extra boost (HDR, Glow)
- Open Effects → Video Effects → search for “HDR”. Apply a smart HDR-like effect.
- Adjust the effect’s filter strength, blur, and sharpen ranges until it looks natural (too much sharpening looks bad).
- Try a subtle Dreamy Glow if you want a soft highlight effect — tweak glow strength and range.
Compare before / after
Use CapCut’s preview to compare the original and edited clips. You’ll notice the edited clip looks smoother, clearer, and more vibrant — which is exactly the goal.
Step 4 — Export in 4K
Once satisfied:
- Click Export.
- Set everything to maximum (quality), select Optical Flow if available, and export. This will save a high-quality 4K version to your gallery.
Extra tips & reminders
- No need for extra screen recorder apps — use your device’s built-in recorder for best results.
- If your device overheats or lags, record in shorter segments and keep background apps closed.
- Try multiple filters/effects and compare — small tweaks make big visual differences.
- If you want to explore more editing tricks or CapCut tutorials, check CapCut’s official site: capcut.com or search for CapCut guides on YouTube.
Resources & links
- CapCut official: https://www.capcut.com/
- Search VPN apps (Google Play): Google Play – VPN
- Android screen recording docs: developer.android.com — screenrecord
Final words
That’s it — I hope everything is clear now: how to record, how to edit, and how to export in 4K. Follow these steps and your FreeFire videos will look much better — smoother, sharper, and more eye-catching. See you in the next video/post — stay happy and keep spreading good vibes!
If you found this useful, share it and join our community on Telegram/WhatsApp . Happy editing!
Join Our Prompt Community!
Get daily AI prompts, tips, and tricks directly in your WhatsApp.