How to Edit Trending Reels Using the CPKT App – Full Step-by-Step Tutorial
Hello everyone! In today’s post, I’ll show you how you can easily edit any trending Instagram Reels video using the CPKT application. These types of Reels are going viral on social media right now, and by following this guide till the end, you’ll be able to create your own professional and trendy videos too. Let’s begin!
Step 1: Download and Set Up the CPKT App
First, make sure you have a working version of the CPKT app installed on your phone. If you don’t have it yet or it’s not working, you can join our Telegram or WhatsApp channel for download links and updates.
Next, connect your device to a VPN. You can easily find free VPNs on the Google Play Store. For example, you can use the Boxi VPN. Once installed, open it and tap Connect. After connecting successfully, open your CPKT app.
Step 2: Create a New Project
Once you open the app, you’ll see the main dashboard. Tap on New Project and select the video you want to edit. Click Add to import it into the editor. You’ll notice it’s just a normal video with no effects yet. Let’s make it viral!
If you see a default “CapCut outro” or watermark at the end, simply tap it and delete it.
Step 3: Add Music to Your Video
Music is one of the most important parts of Reels editing. To add music, tap the Audio option → Sounds → Device or Extract. You can choose a song from your device or extract audio directly from another Reels video. For example, if you found a viral sound on Instagram, download that video and use the Extract Audio from Video option to use its sound.
Once selected, click Add and your audio will appear on the timeline. You’re now ready to edit in sync with the beat.
Step 4: Apply Slow Motion Effects
Slow-motion effects make your Reels look cinematic. Tap your video → select Speed → then choose Curve → Custom. Here, you can drag the curve points down to slow the video at certain moments or keep it normal by leaving points up. Experiment with beats to create rhythm-based motion.
If the start or end of your clip is shaky, use the Split tool to cut that part and delete it. Similarly, if your music track is too long, split and trim it.
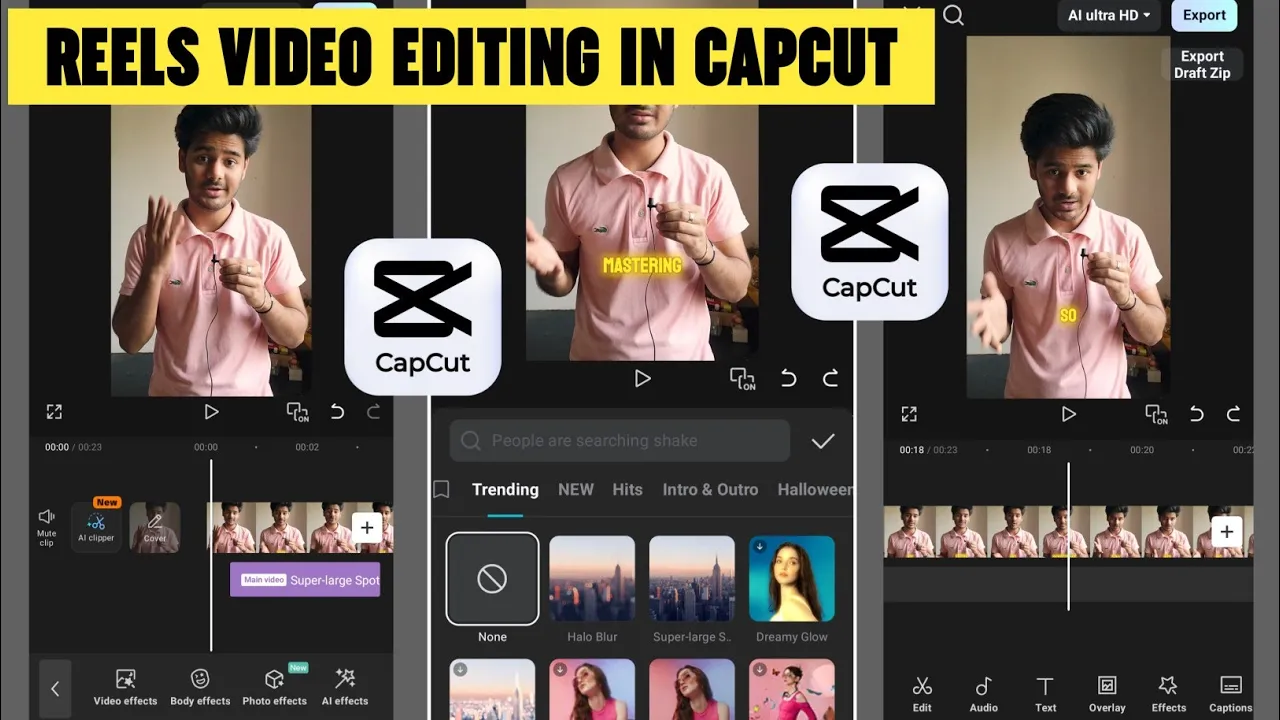
Step 5: Add Visual Effects (VFX)
Now comes the most exciting part — adding trending visual effects! Tap on the Effects option, and you’ll find two categories — Video Effects and Body Effects. Choose whichever suits your video style.
Currently, popular effects include:
- Halo Blur – Great for dreamy transitions
- Phone Effect – Adds a cool digital frame effect
- Distortion and Into Dust – Creates viral transformation-style visuals
You can combine two effects together, like Halo Blur with Phone Effect, to make your opening scene look more dynamic.
👉 You can also explore trending visual effects and templates on CapCut Templates and get inspiration from Instagram Reels.
Step 6: Add Animation Transitions
To make your video flow smoothly, use animations between clips. Tap the clip → select Animation → choose from effects like Ripple, Zoom, or Fade. Adjust their duration for perfect timing.
These animations help connect different scenes and give your video a more polished, professional look.
Step 7: Color Grading Like a Pro
Once effects are done, it’s time for color grading. Find a clear frame of your video, then tap Adjust → Filter and select a look like Bokeh or Focus for background blur. Then open Adjust again to fine-tune brightness, saturation, and contrast.
Try increasing Brightness, reducing Brilliance, and boosting Saturation slightly. Use the HSL panel to make your face fairer or adjust skin tone. You can also add a blue or yellow tone using the Temperature slider and finish it with a soft Vignette effect for a cinematic look.
💡 For more inspiration, check out Color Grading Tutorials on YouTube.
Step 8: Export and Save
Once you’re happy with your edit, click on the Export icon at the top. Set all settings to maximum quality and tap Export. Your edited Reels video will be saved directly to your device, ready to upload on Instagram, TikTok, or YouTube Shorts.
Final Thoughts
That’s it! You’ve just learned how to create a trending Reels video using the CPKT app. With the right combination of music, slow motion, effects, and color grading, you can make your Reels go viral easily.
If you found this tutorial helpful, don’t forget to share it and subscribe to our updates for more editing tricks and viral Reels ideas. You can also explore:
Stay creative, stay happy, and keep spreading positivity. See you in the next post!
Join Our Prompt Community!
Get daily AI prompts, tips, and tricks directly in your WhatsApp.