How to Edit Trending Instagram Reels Using CapCut App (Step-by-Step Tutorial)
Hello guys! How are you all doing? In today’s tutorial, I’m going to show you how to create trending Instagram Reels edits using the CapCut (CPKT) application — the same kind of videos that often go viral on Instagram.
Make sure you read this post till the end because I’ll guide you step by step through everything — from color grading to slow-motion effects, and even professional transitions.
Step 1: Install and Prepare CapCut
First, make sure you have the latest working version of the CapCut app installed on your phone. If you don’t have it yet, you can find the official download links and resources on our Telegram channel or WhatsApp group (links are usually in the video description).
Sometimes, you may need a VPN to access all CapCut templates or effects. Just open the Google Play Store and download any free VPN like “Poxy VPN,” connect it, and then open CapCut.
Step 2: Create a New Project
After connecting to a VPN, open CapCut. Click on “New Project” and select the video you want to edit. Once it’s added to the timeline, play it — you’ll notice it’s just a normal video with no edits yet. Don’t worry; we’re going to make it look amazing!
First, delete the CapCut outro that appears at the end of every video by clicking on it and pressing Delete. Then, trim out any unnecessary parts at the beginning or end using the Split option. Simply split and delete unwanted sections for a clean base video.
Step 3: Add Background Music
Music is the heartbeat of your Instagram Reels! Go to the Audio section → Sounds → Device and choose any track stored on your phone. You can sync your edit with the beats of the song for better rhythm and flow. If you want copyright-free music, try Pixabay Music or Bensound.
Step 4: Create Slow Motion (Beat Sync)
Click on your video, go to Speed → Curve → Custom. Play your video and add beats where you want the slow motion to appear by selecting Add Beat. Pull those beats slightly downwards to slow that part of the video. Alternate between normal and slow parts to match the rhythm of your music. This technique makes your reel look professional and cinematic.
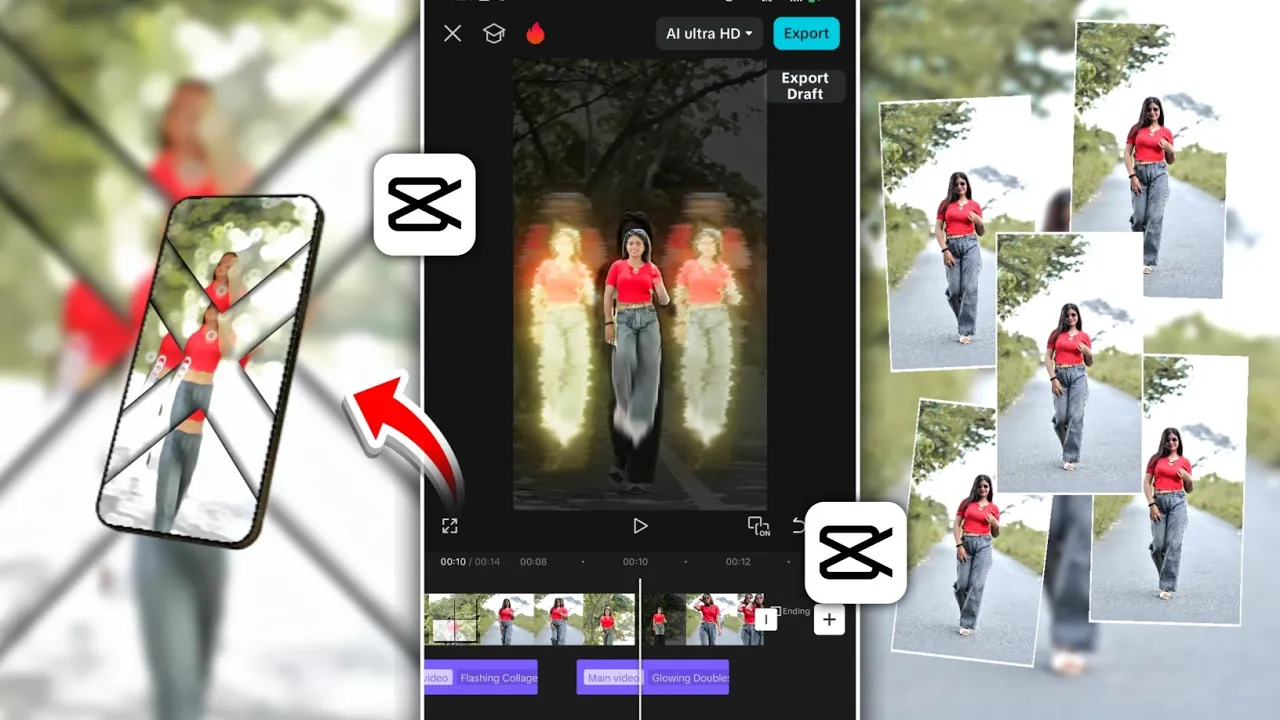
Step 5: Apply Viral Effects
Now, head to Video Effects. Trending combinations include:
- Halo Blur + Cross Effect — gives your video a dreamy viral look.
- Phone Effect — adds a smooth lens-like blur seen in trending edits.
Another viral combo is Halo Blur + Star Dust (found under “Distortion” effects). This gives a glowing dust trail effect, which is super popular on Reels right now. You can also explore Body Effects like Fire or Glowing Lines to enhance character movement.
Use creative transitions like Cross Open or Rock Vertical from the animation menu to add a smooth camera motion between clips.
Step 6: Color Grading and Lighting
Click on your video, scroll down to Adjust, and then choose Filters. Select a cinematic or soft tone filter — this helps make color grading easier. You can also search for Focus or Bokeh filters to blur the background and give a DSLR-like look.
Under the Adjust section, tweak the following:
- Brightness: Increase slightly to add light.
- Brilliance: Decrease a bit for soft light.
- Saturation: Adjust until colors pop naturally.
- Clarity: Boost slightly for sharpness.
- Temperature: Shift toward blue for a cool tone or yellow for warmth.
Once you’re happy with the colors, click Apply to All so the settings apply across all clips.
Step 7: Smooth Skin & Face Whitening
If you want your face to look cleaner or brighter, click on the clip and go to Retouch → Face. Allow permission and adjust:
- Skin Tone: Increase for a fairer look.
- Whitening: For an even complexion.
- Smoothness: To reduce dark spots or rough textures.
Click Apply to All to make it uniform across your video. Done! Now your face and overall footage look polished and professional.
Step 8: Export in High Quality
After finishing all edits, click on the Export button. Choose the highest available resolution and frame rate for best quality (1080p or 4K if available). Before exporting, apply Smooth Slow Motion to your clips under the Speed option for fluid playback.
Once exported, you can upload your video directly to Instagram Reels or share it on TikTok, YouTube Shorts, and Facebook Reels.
Conclusion
That’s it! Now you know how to edit trending Instagram Reels in CapCut — including trimming, adding music, slow motion, viral effects, smooth transitions, and professional color grading. Follow these steps, and your reels are guaranteed to stand out!
If you found this guide helpful, don’t forget to check out more CapCut templates and join our Telegram community for new editing resources and project files.
See you in the next tutorial — stay creative and keep spreading positivity!
Join Our Prompt Community!
Get daily AI prompts, tips, and tricks directly in your WhatsApp.